This is a recent damage report of a full rip out and replace. Damage reports are included in every remodel to give the homeowner a full understanding of what happened in their home.
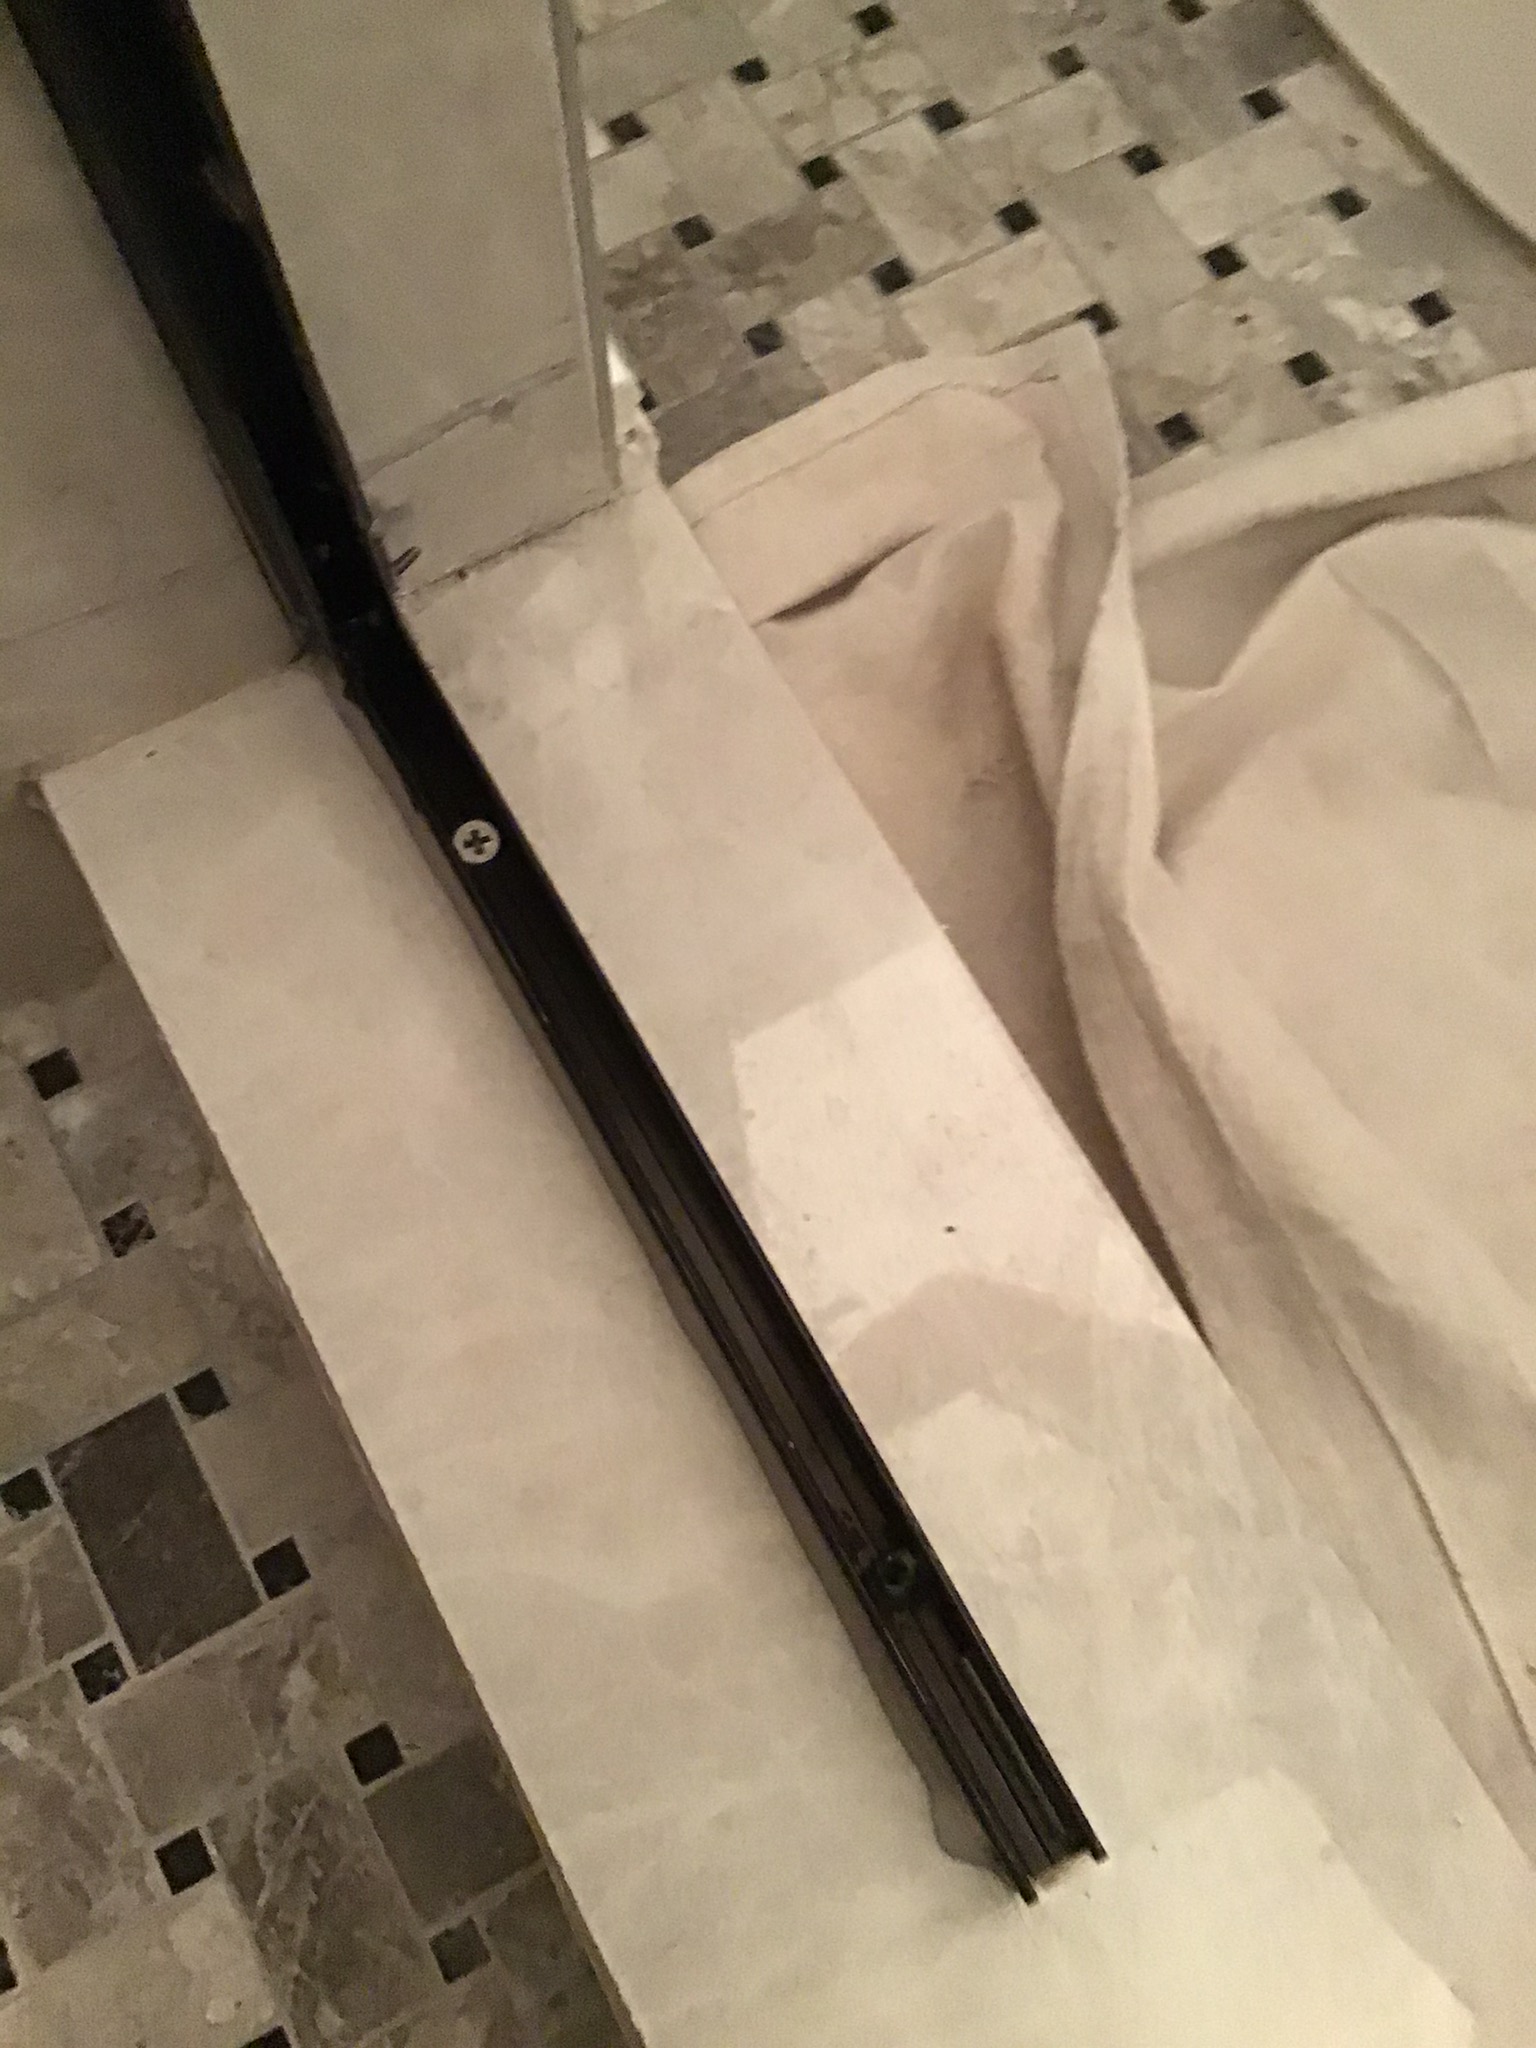
The first incorrect item we found and perhaps the ultimate nail in the coffin was these screws installed by the glass company. It is very typical for a glass company to come in and neglect the waterproofing under the tile by drilling a hole right threw it. This allowed water in the track to leak under the tile and threw any waterproofing that may or may not have been applied.
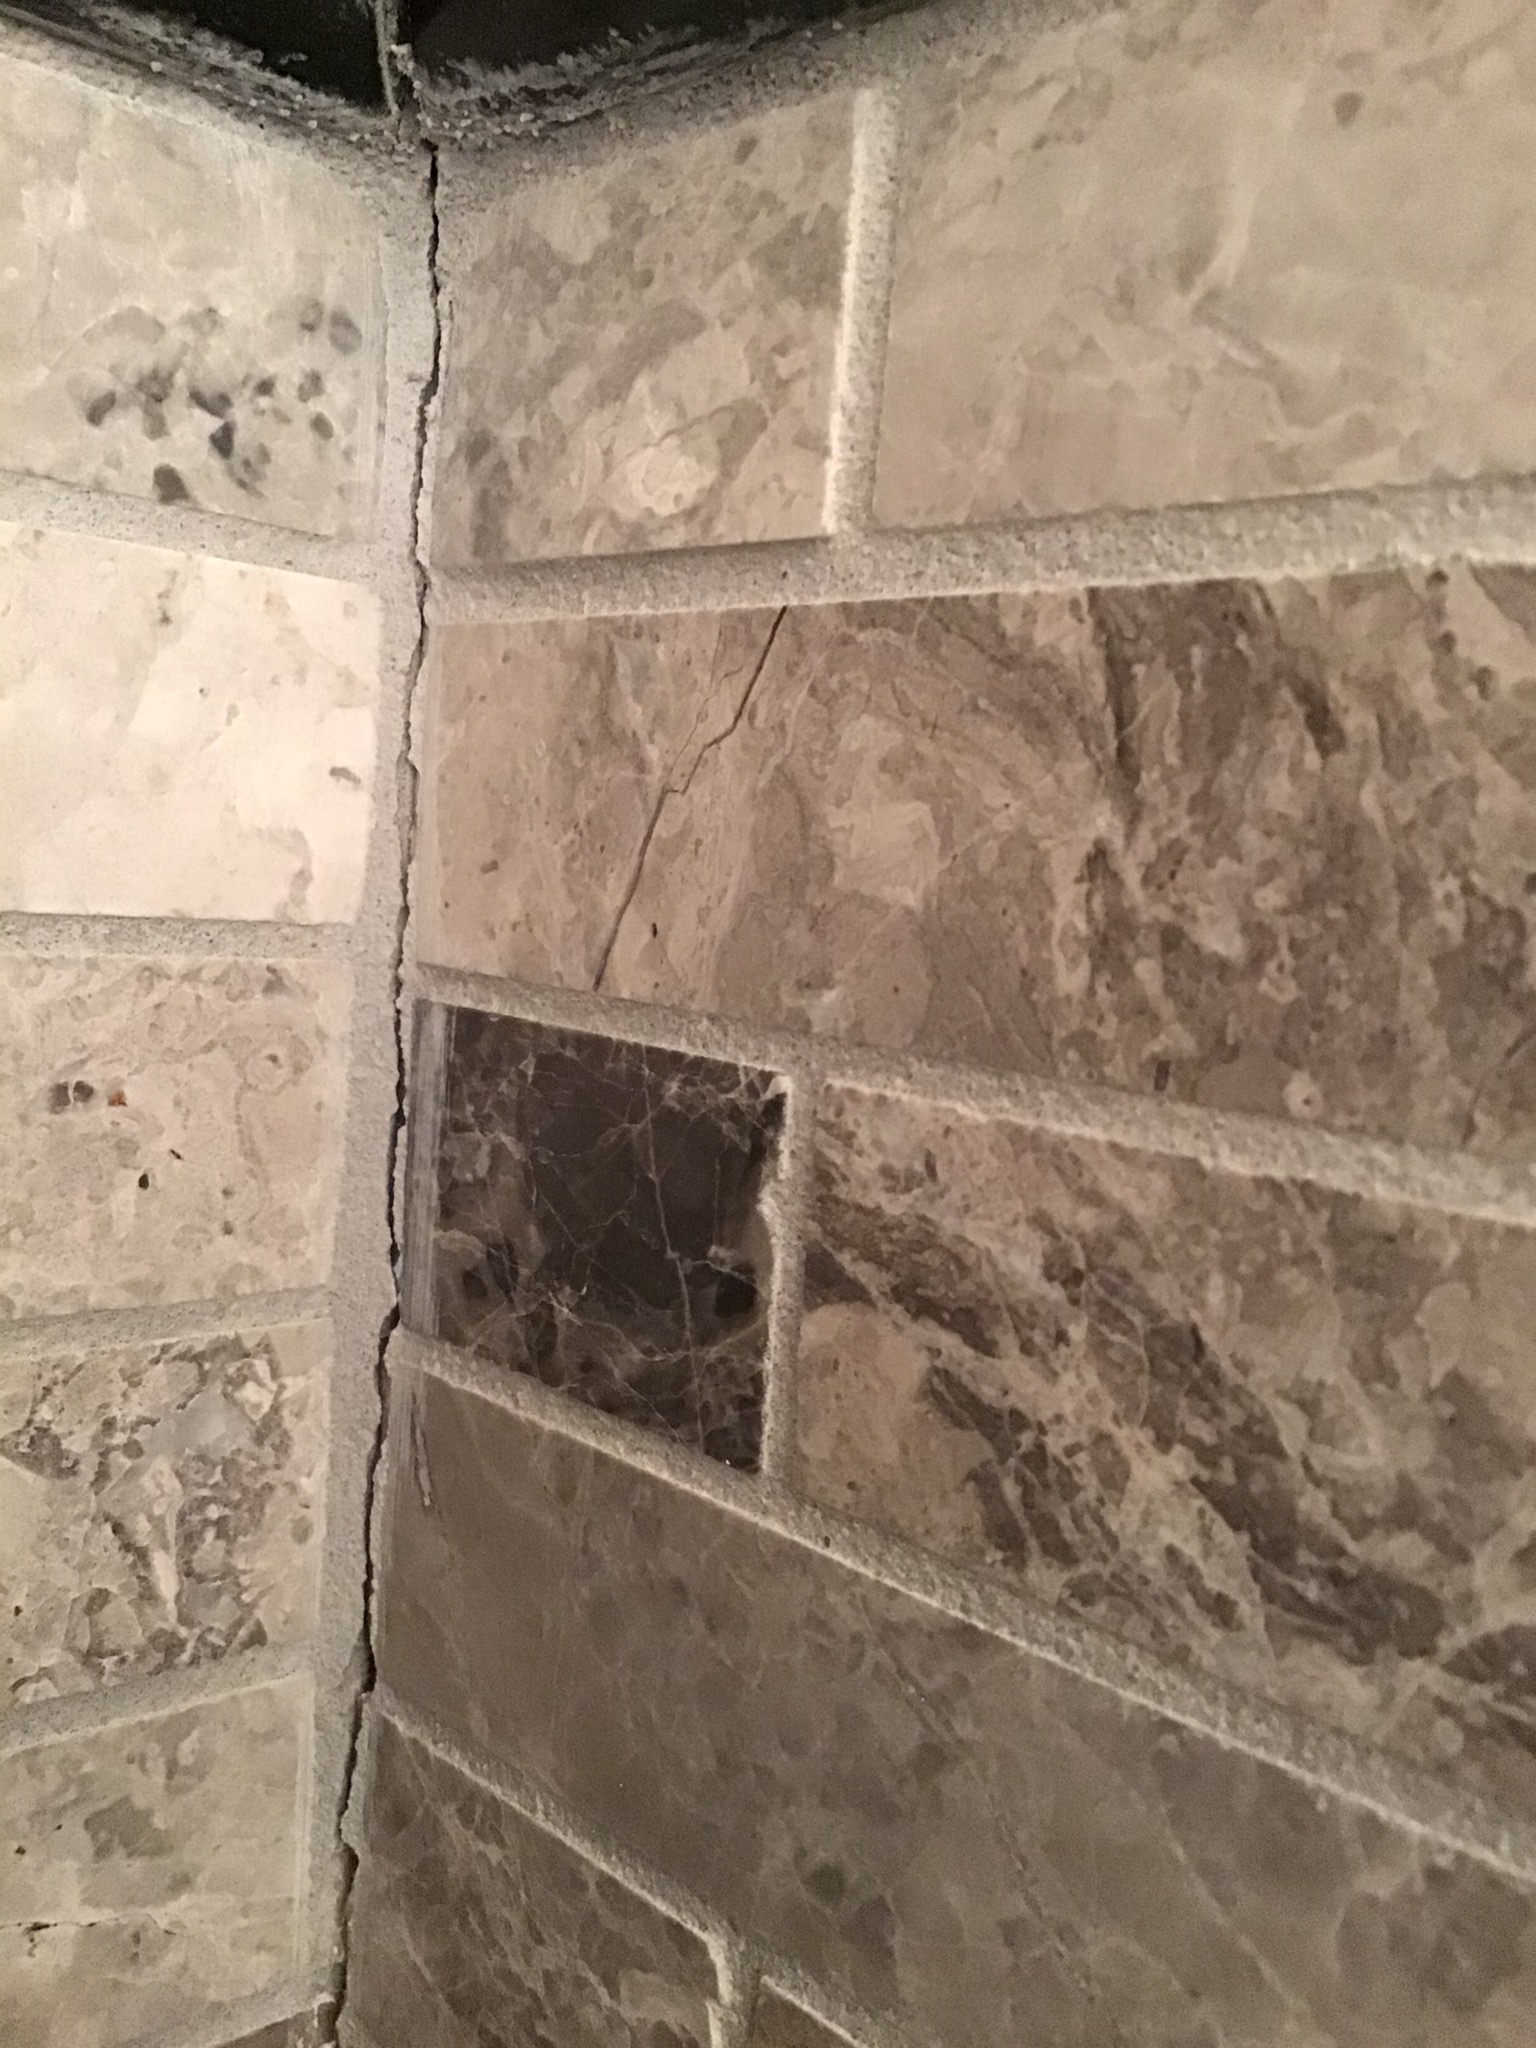
Another common mistake made my the installer is leaving no expansion gap in the corners. In this case the expansion was compromised by the installer filling the gap with grout. This prevents the wall from being able to expand and contract with the seasons and can result in cracked grout and even tile falling off the wall. A proper expansion joint is 1/8 to 1/4 inch wide and filled with flexible silicone.
Perhaps the largest and most costly mistake is referred to as "spot bonding" these pictures are a prime example of spot bonding. Spot bonding is when an installer does not want to use the proper amount of thinset needed to install or simply doesn't know any better. They use globs of thinset to build out the uneven wall to make the tile flush. this practice results in minimal coverage and in this case no bond to the tile at all. These tiles should be completely covered in thinset and only removable by smashing into many pieces. In this case we easily removed whole tile from the wall and most were actually falling off once the deconstruction began.
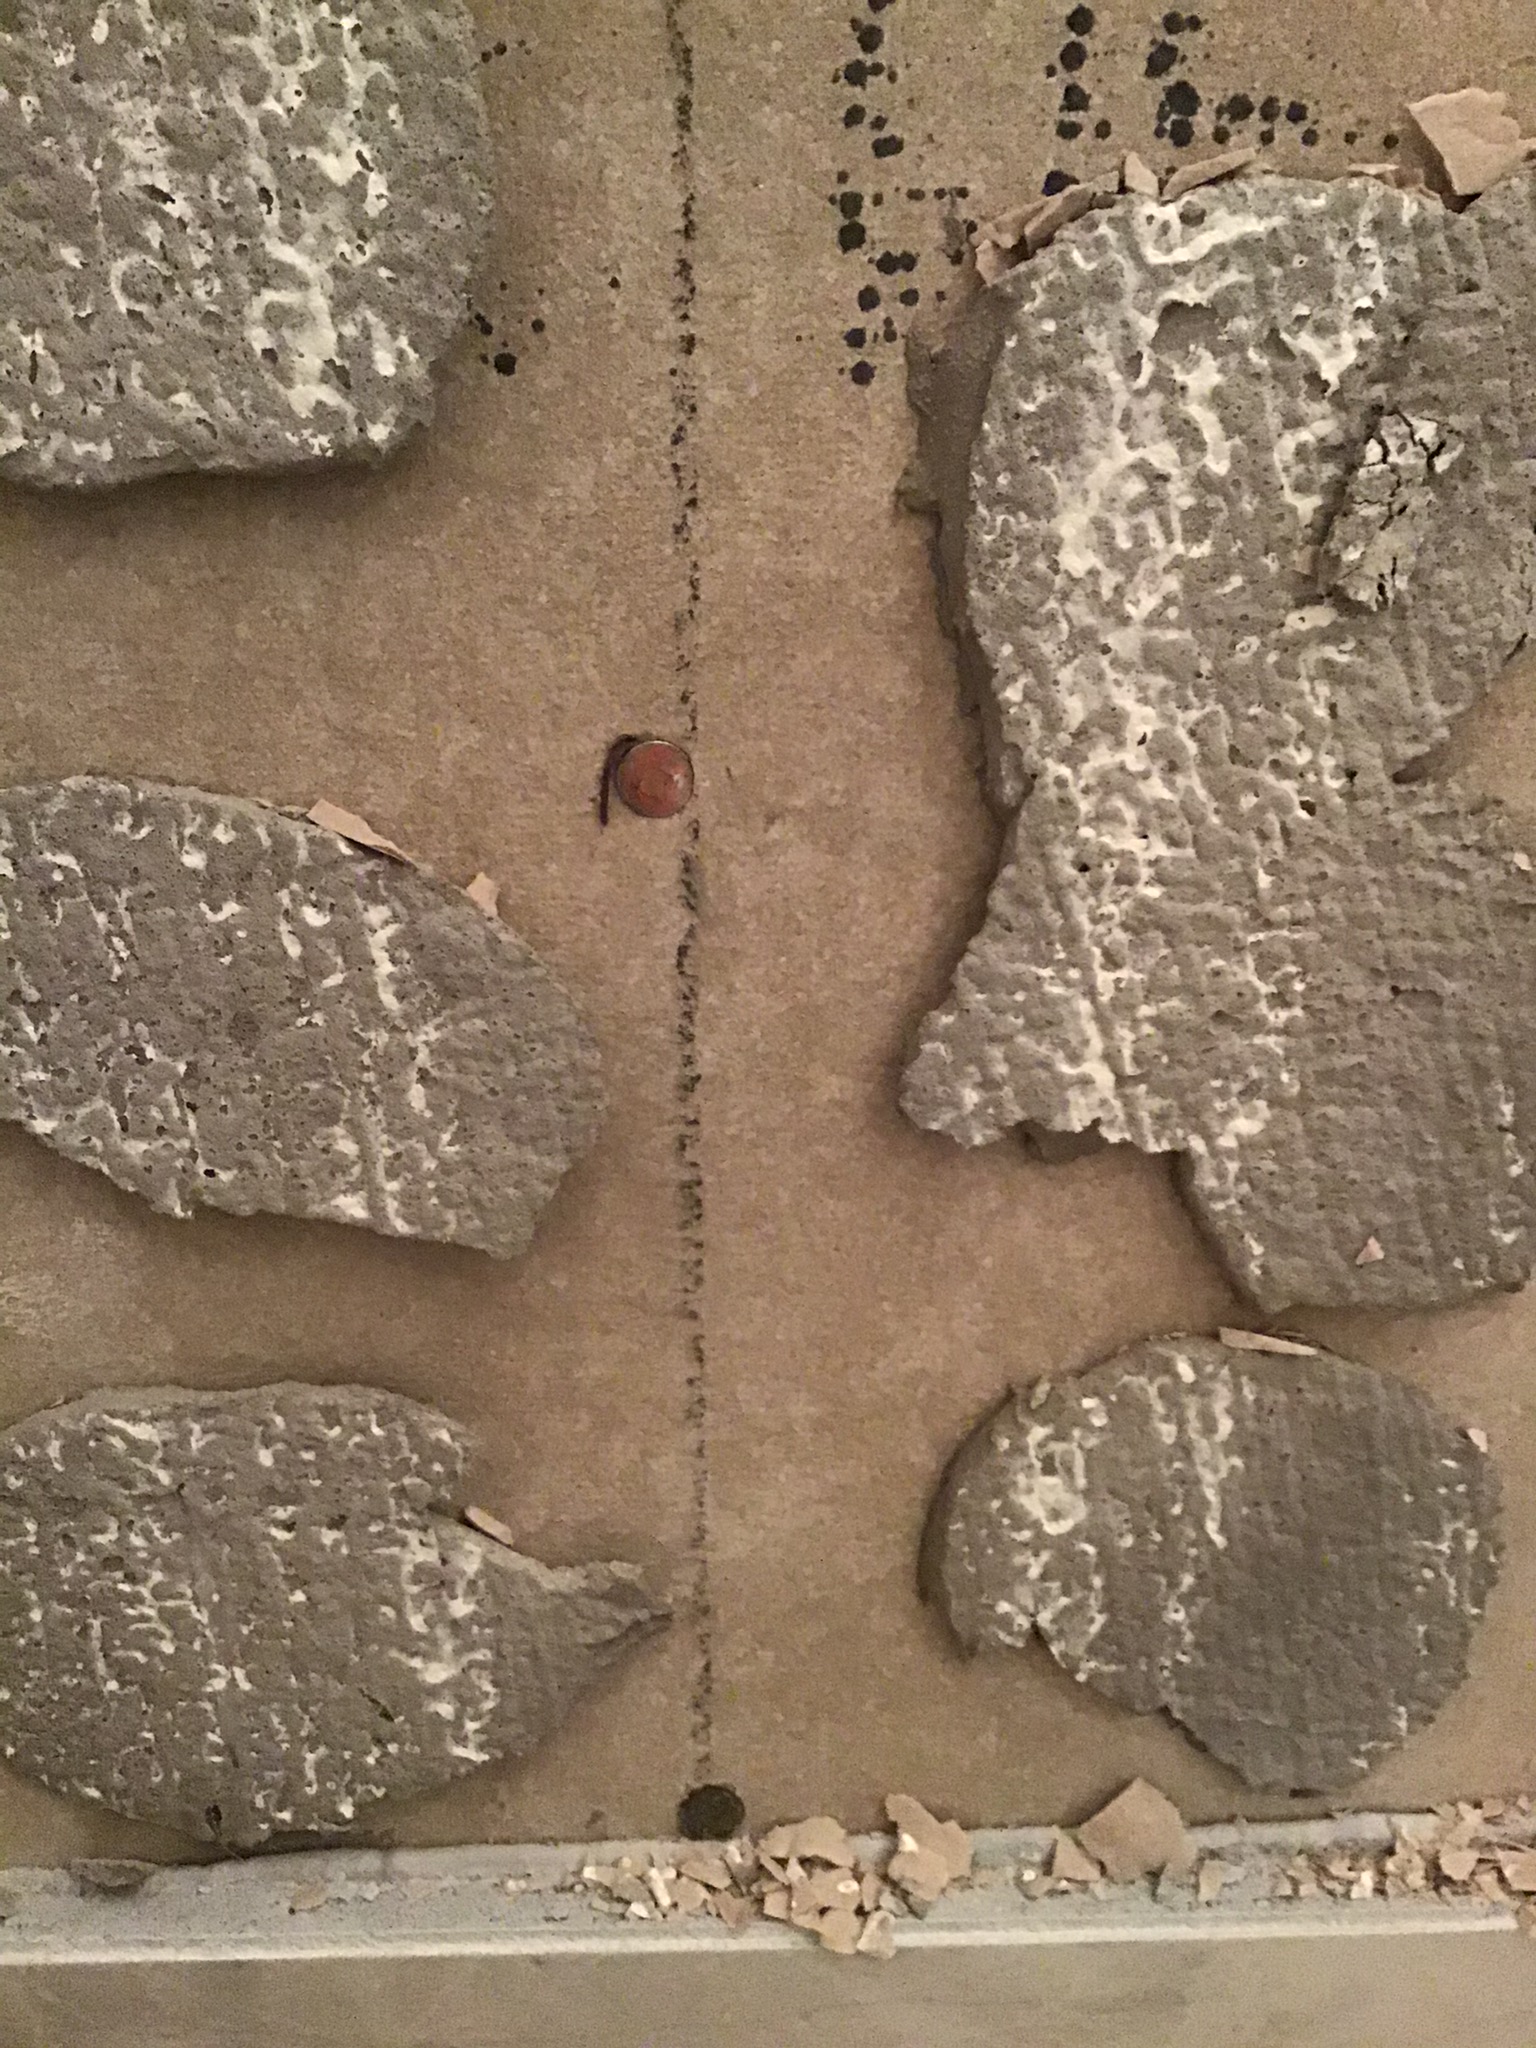
Here you can see roofing nails were used to fasten the backer board to the wall. This is not recommended by the manufacturer and allowed us to easily remove large sections of the wall at once. It was barely attached with only 3/4 of the nail in the stud whereas standard 1 5/8 backer screws should have been used per manufacturer spec.
In these photos you can see studs turned on their sides allowing deflection in the wall. This deflection mixed with spot bonding could have resulted in tile falling off the wall from an impact and possible injury from falling tile. You can also take notice that trim nails were used to attach boards around the niche instead of 3 inch framing nails or screws. Moving onto the rubber liner no blocking between studs were installed to support the back.
Since the backer board was sunk into the concrete you can see evidence on the back of the board where water was climbing up the back. This board should have been held 1/8th inch above the concrete to keep it out of any standing water. You can see where mold was beginning to form on the back and if this shower wasn't leaking this mold could have continued to build up over time causing even more damage. In a proper install the water that collects on the back of the board would be able to run down the board and into the rubber liner keeping the board dry.
Here is where the main leak was discovered in the shower. You can notice the rusty nail heads poking through the rubber liner that doesn't even encase the 2x4 used for the curb. This liner should wrap all the way around, or better yet, the curb should be built out of concrete with the liner coming through the front and cut off flush. These nails allowed water to run down the boards under the rubber liner and onto the subfloor which eventually ending up dripping from the kitchen ceiling.
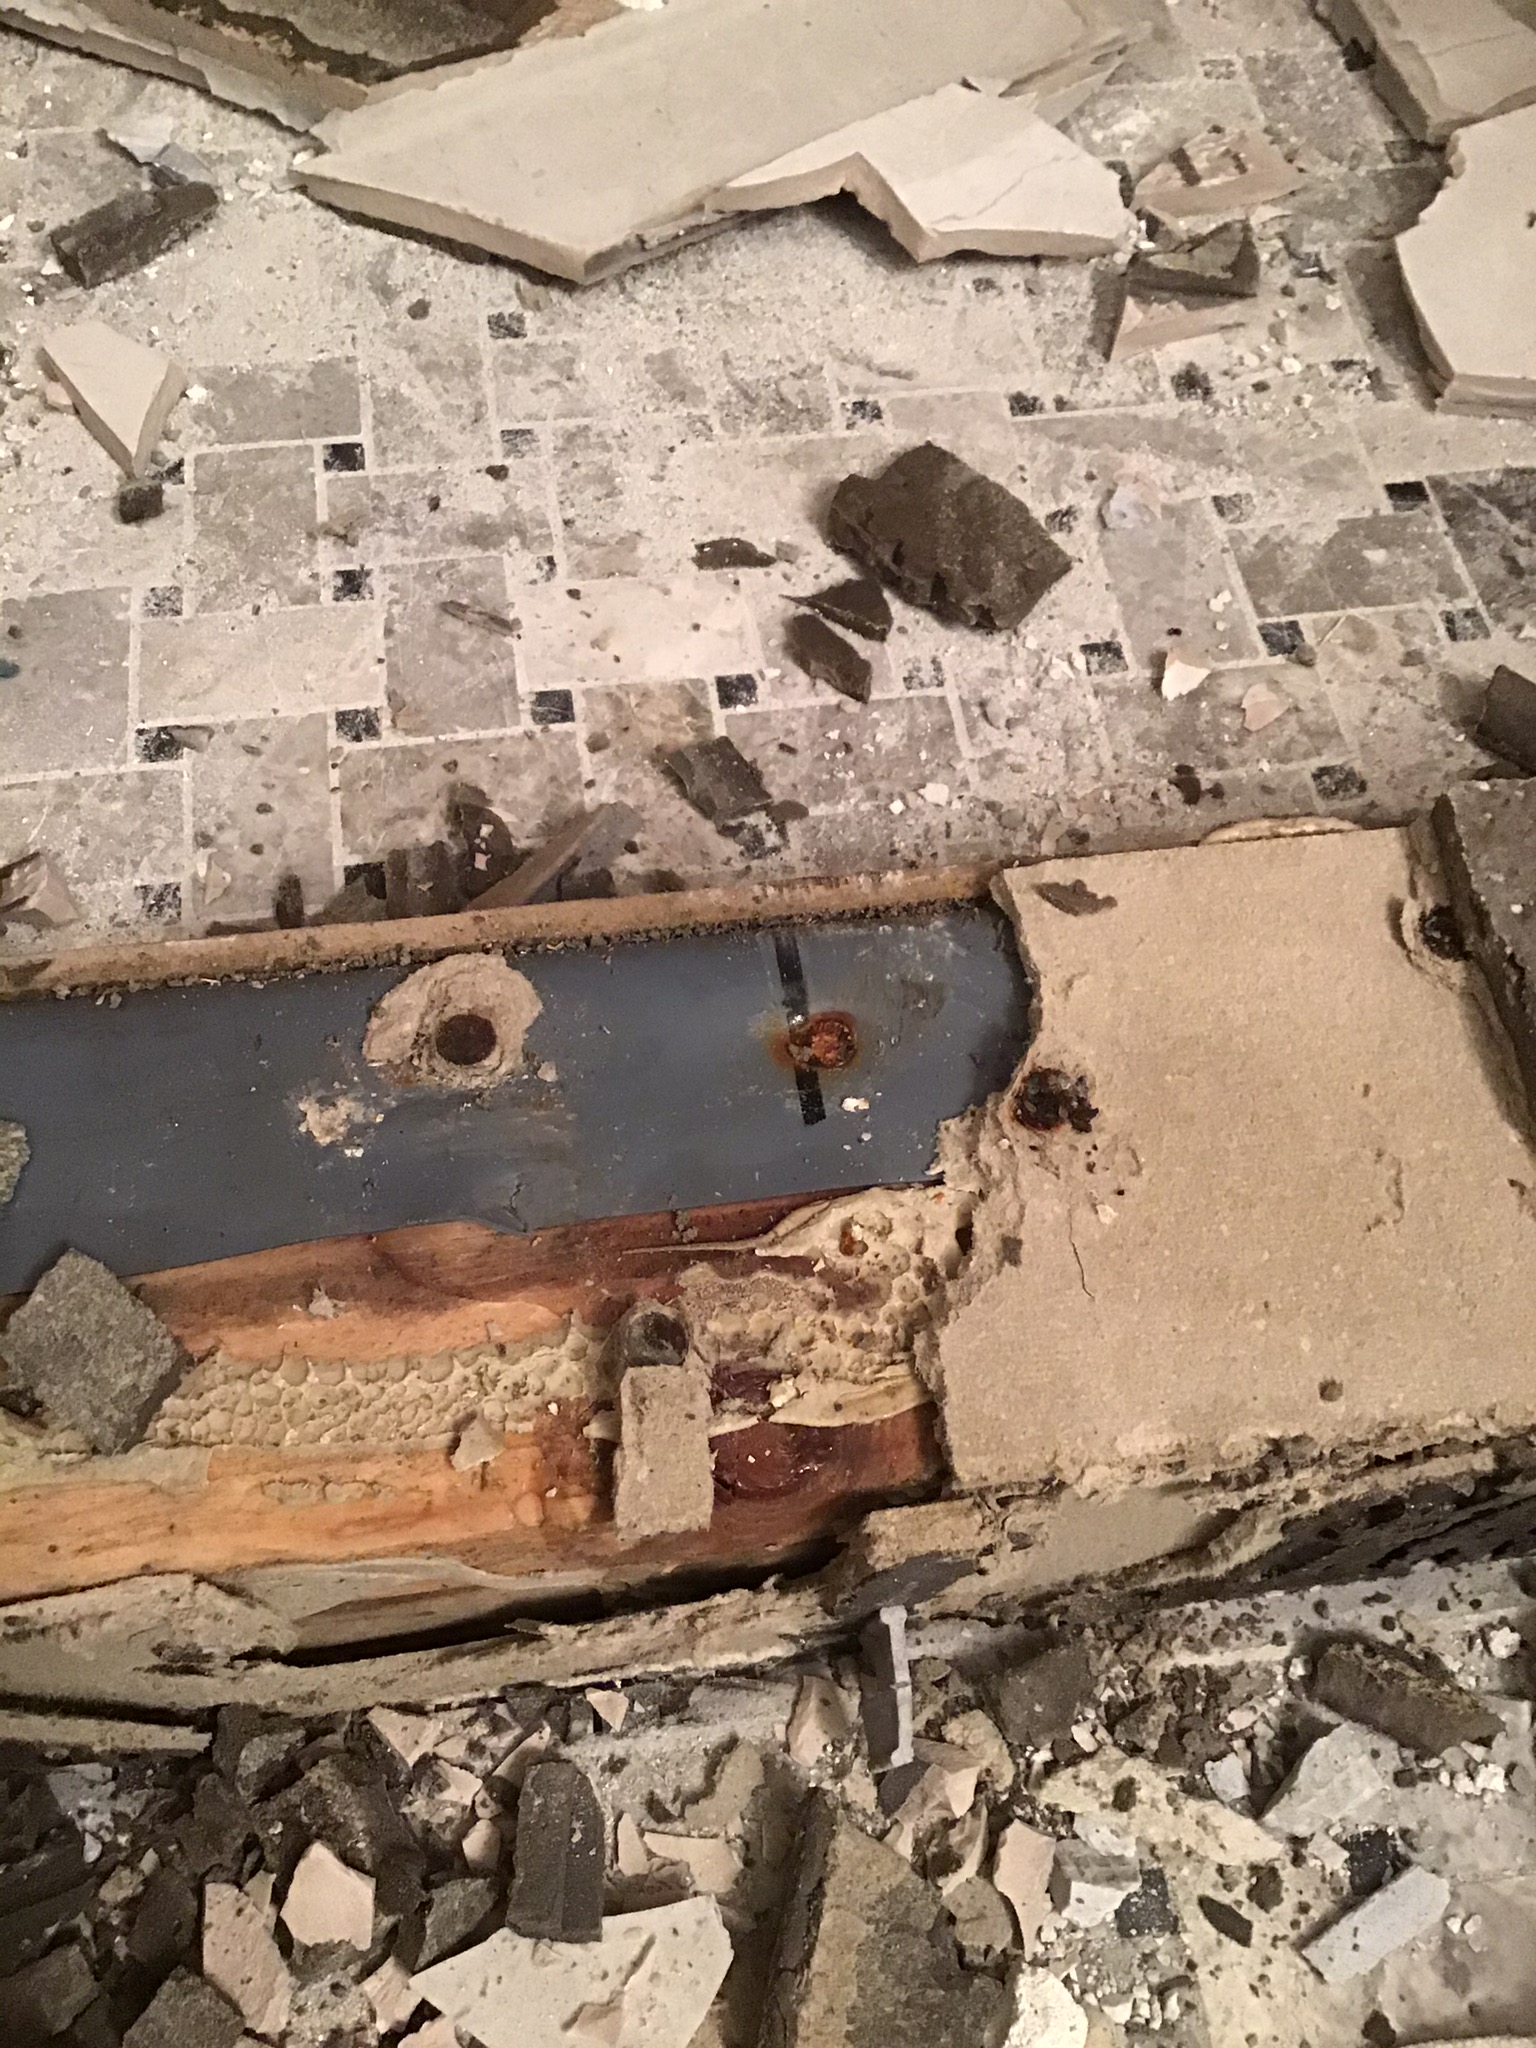
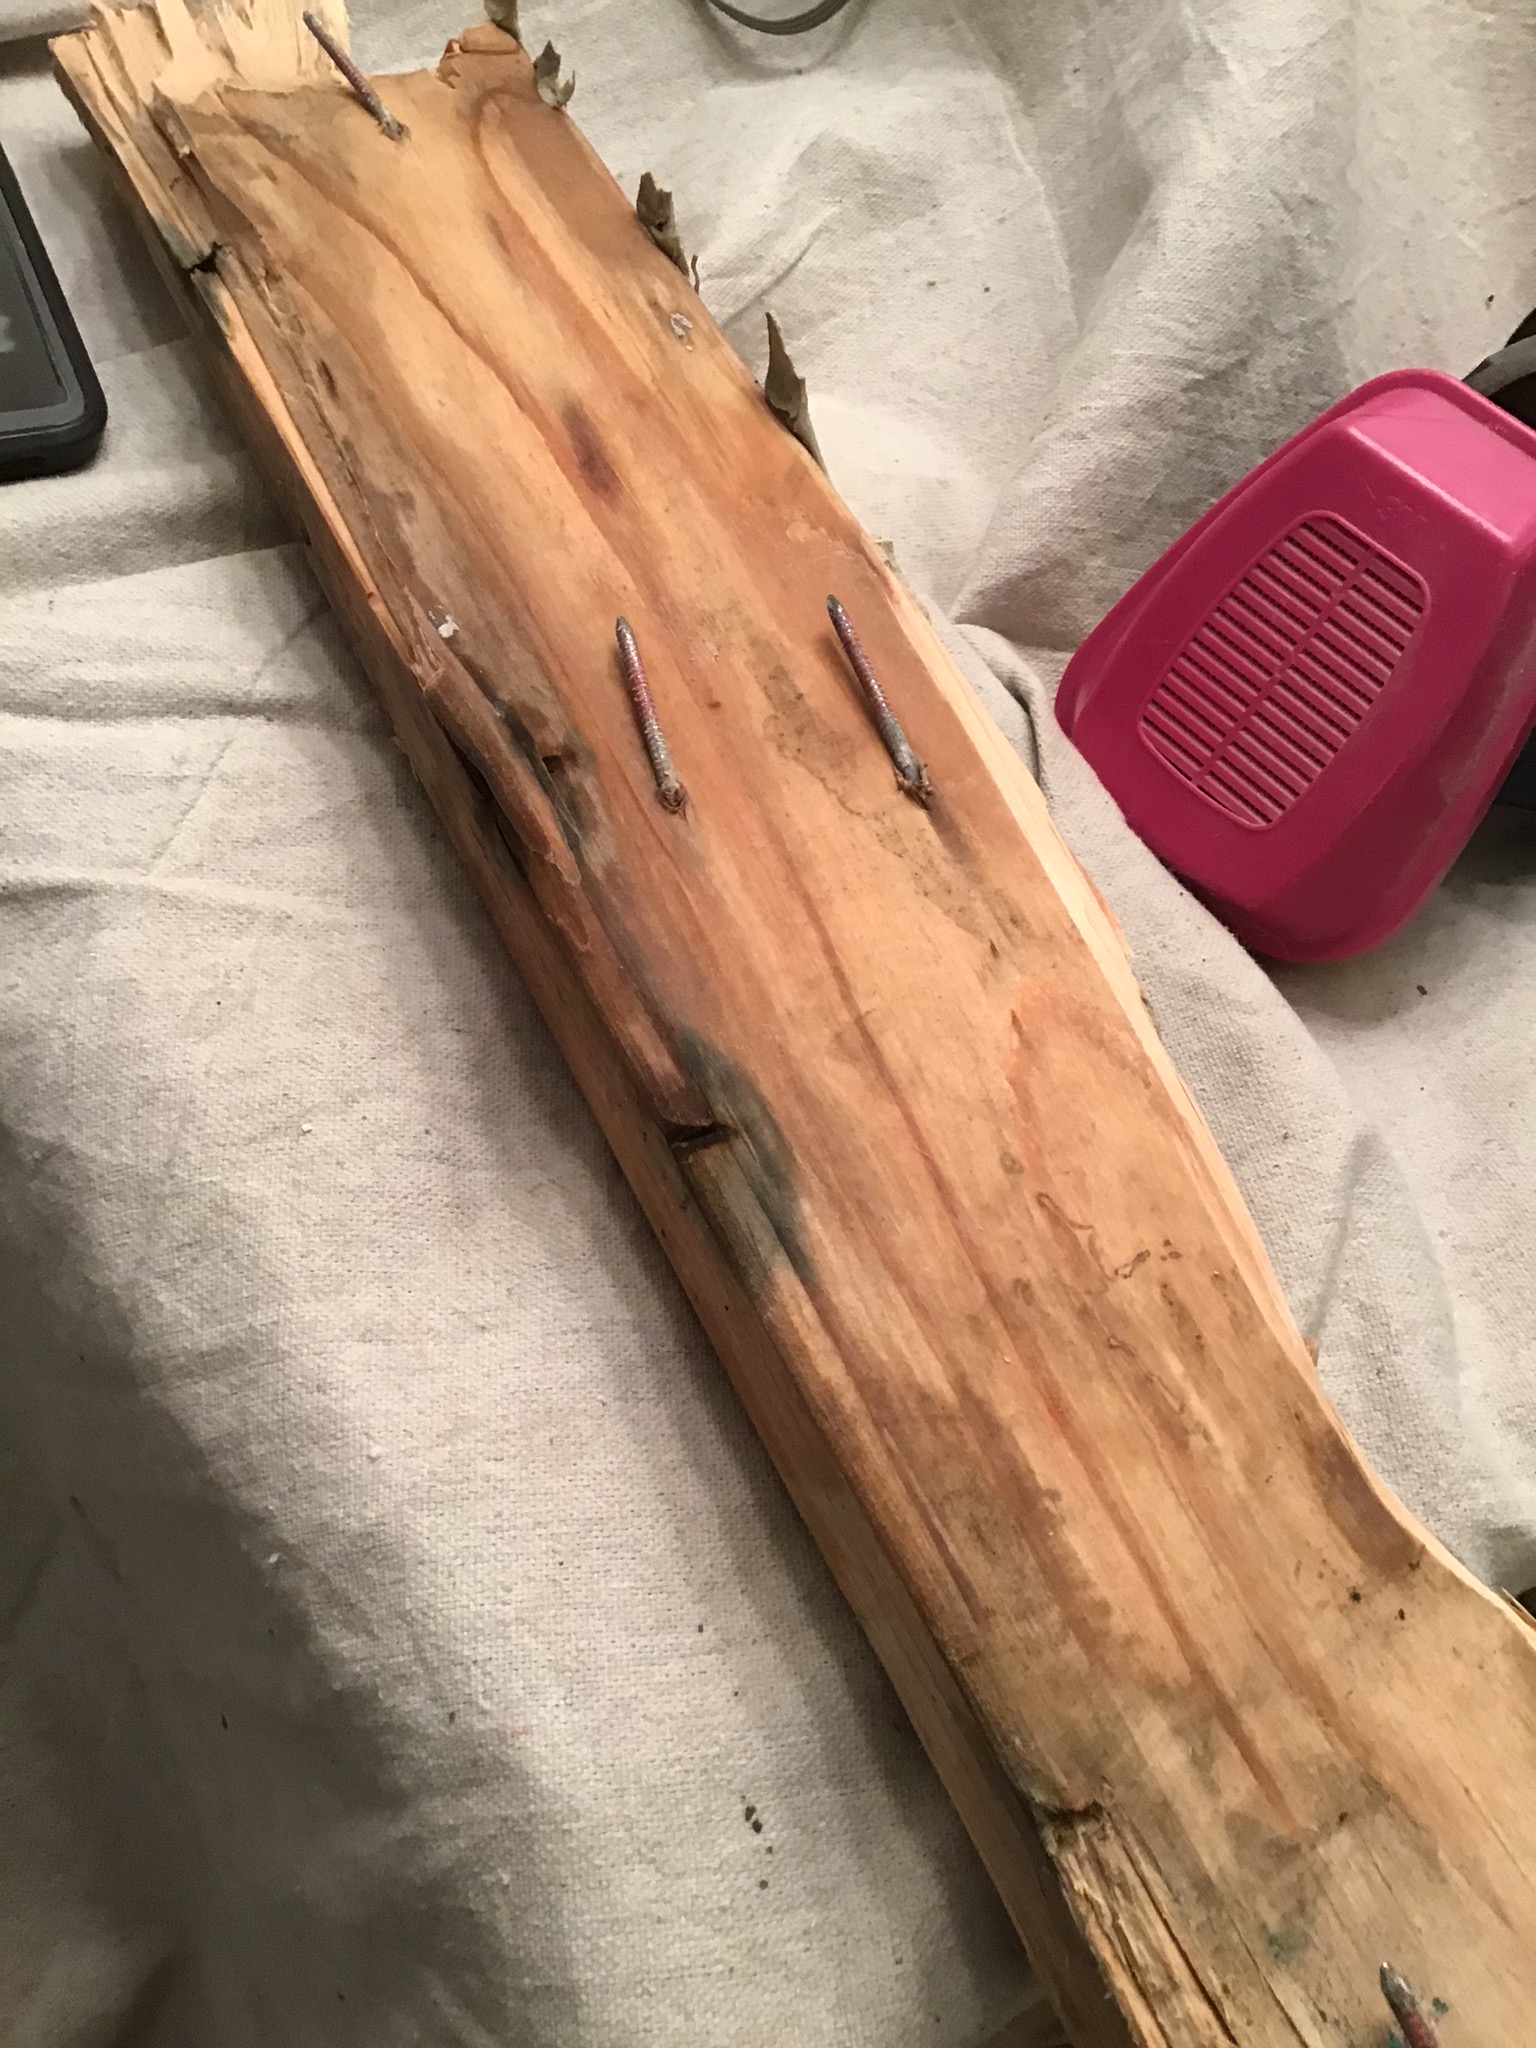
Again, here is the curb collecting water and beginning to form mold. Luckily the leak was discovered before extensive removal was necessary. In some cases where the shower is used infrequently and the water has more places to go, leaks can go undiscovered for a long time and large amounts of black mold can form. In the worst cases another company is needed just to remove the mold safely and legally.
This piece of backer removed from the curb almost shows what full coverage on the tile would look like. The thinset still wet from a shower 5 days ago shows how long the water sits around under the tile.
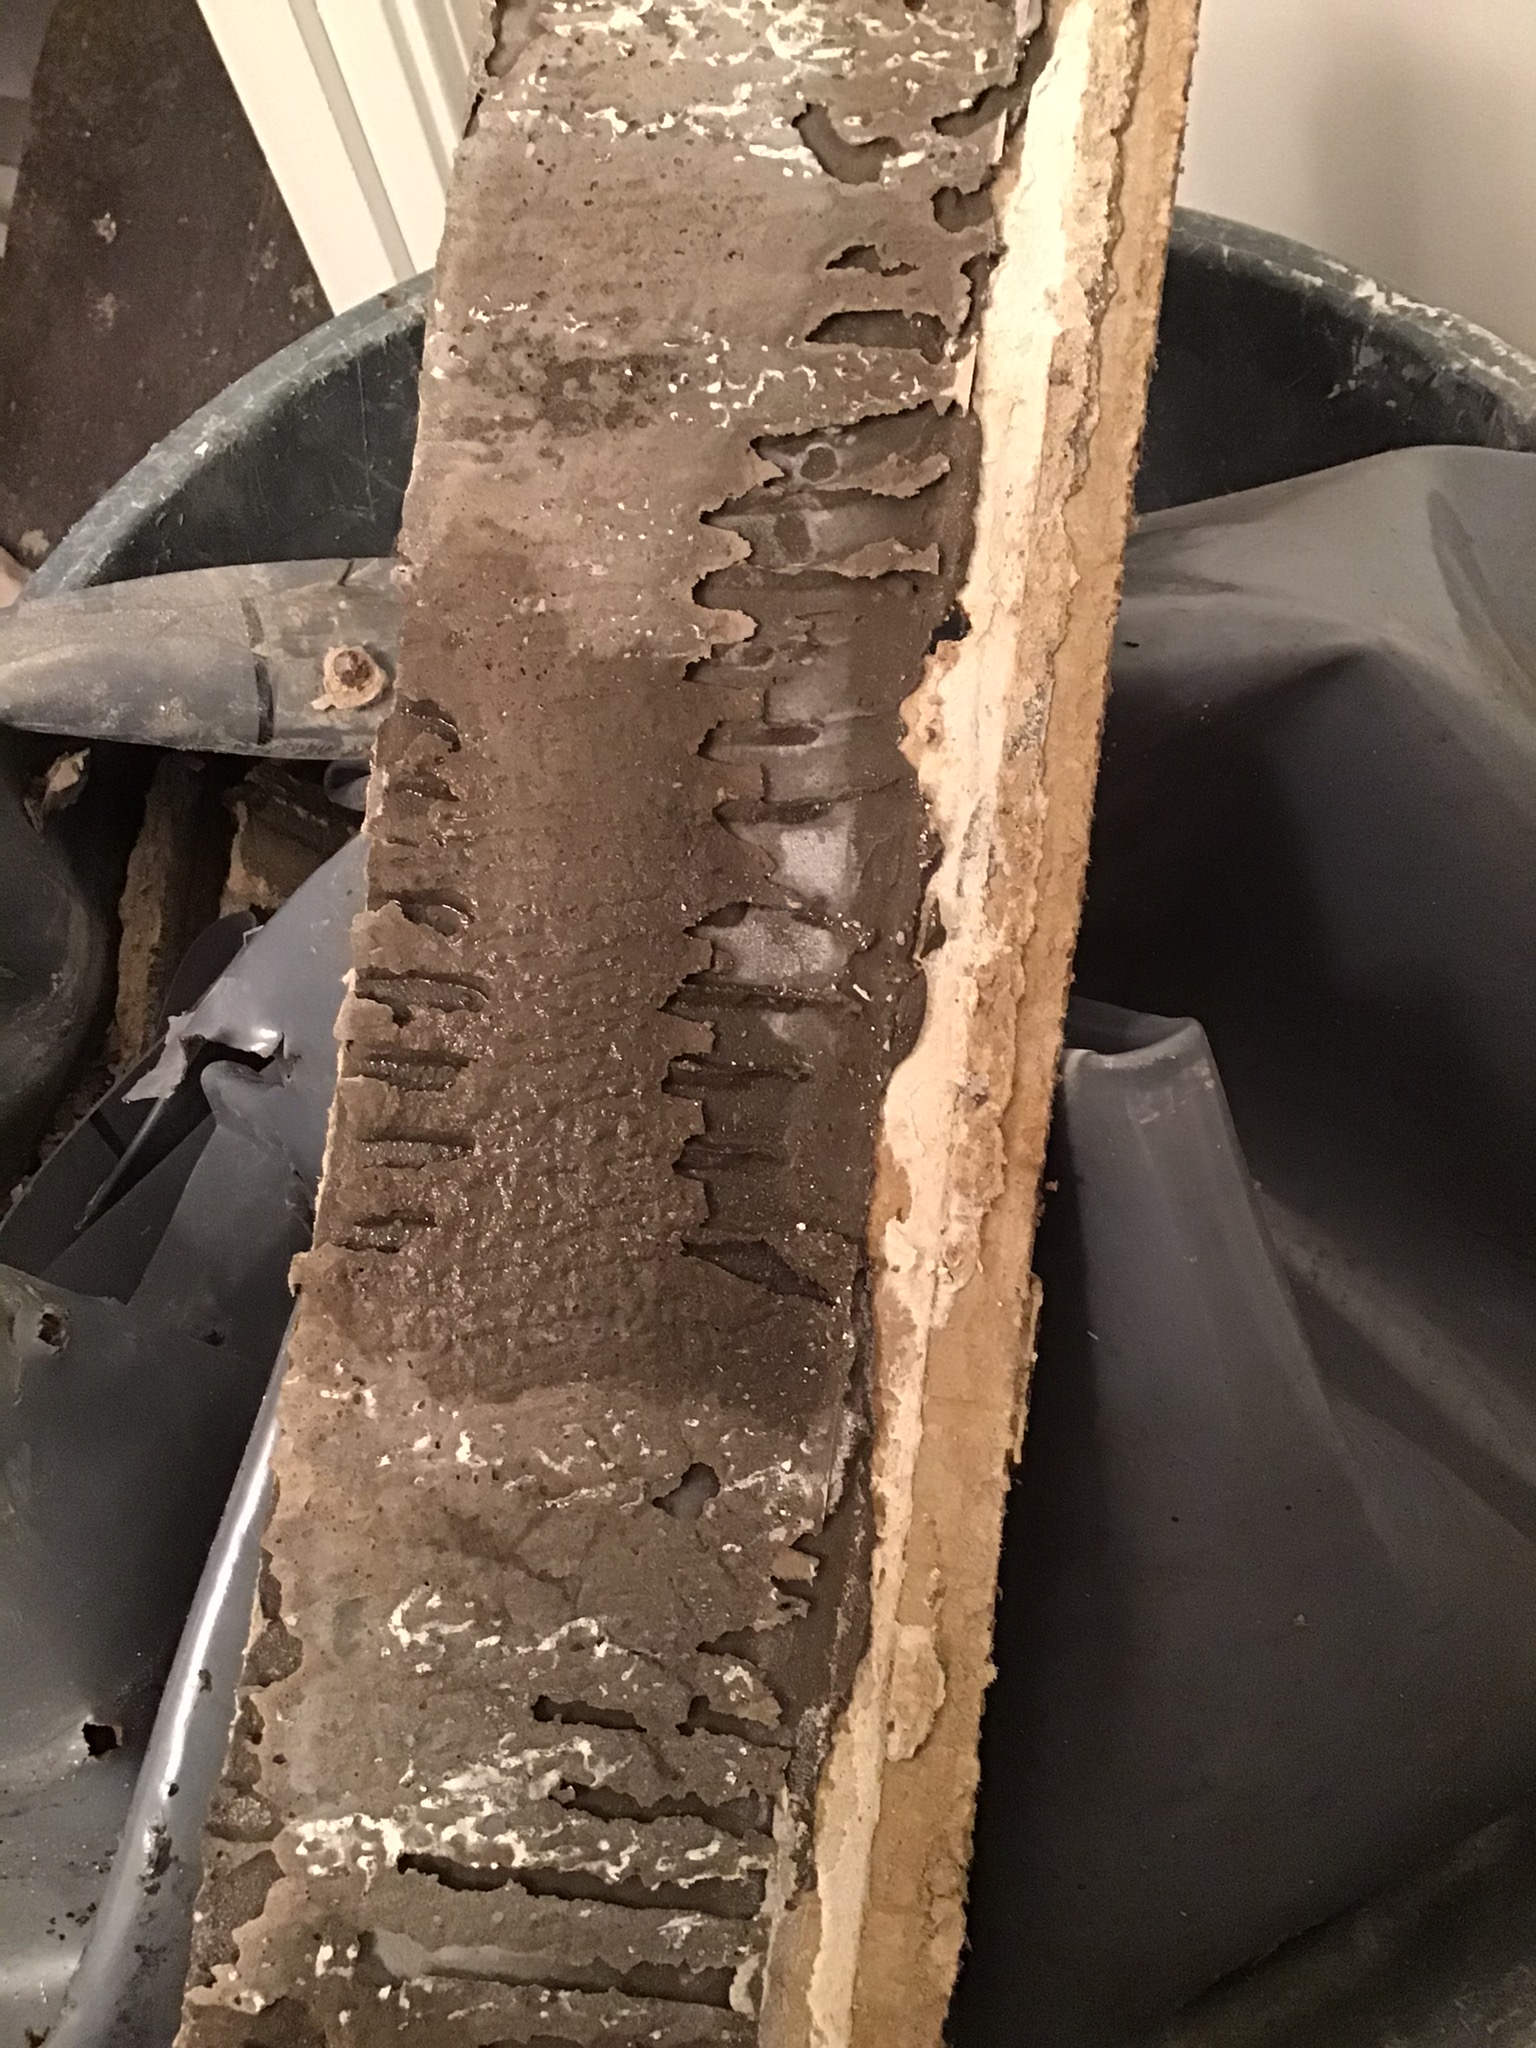
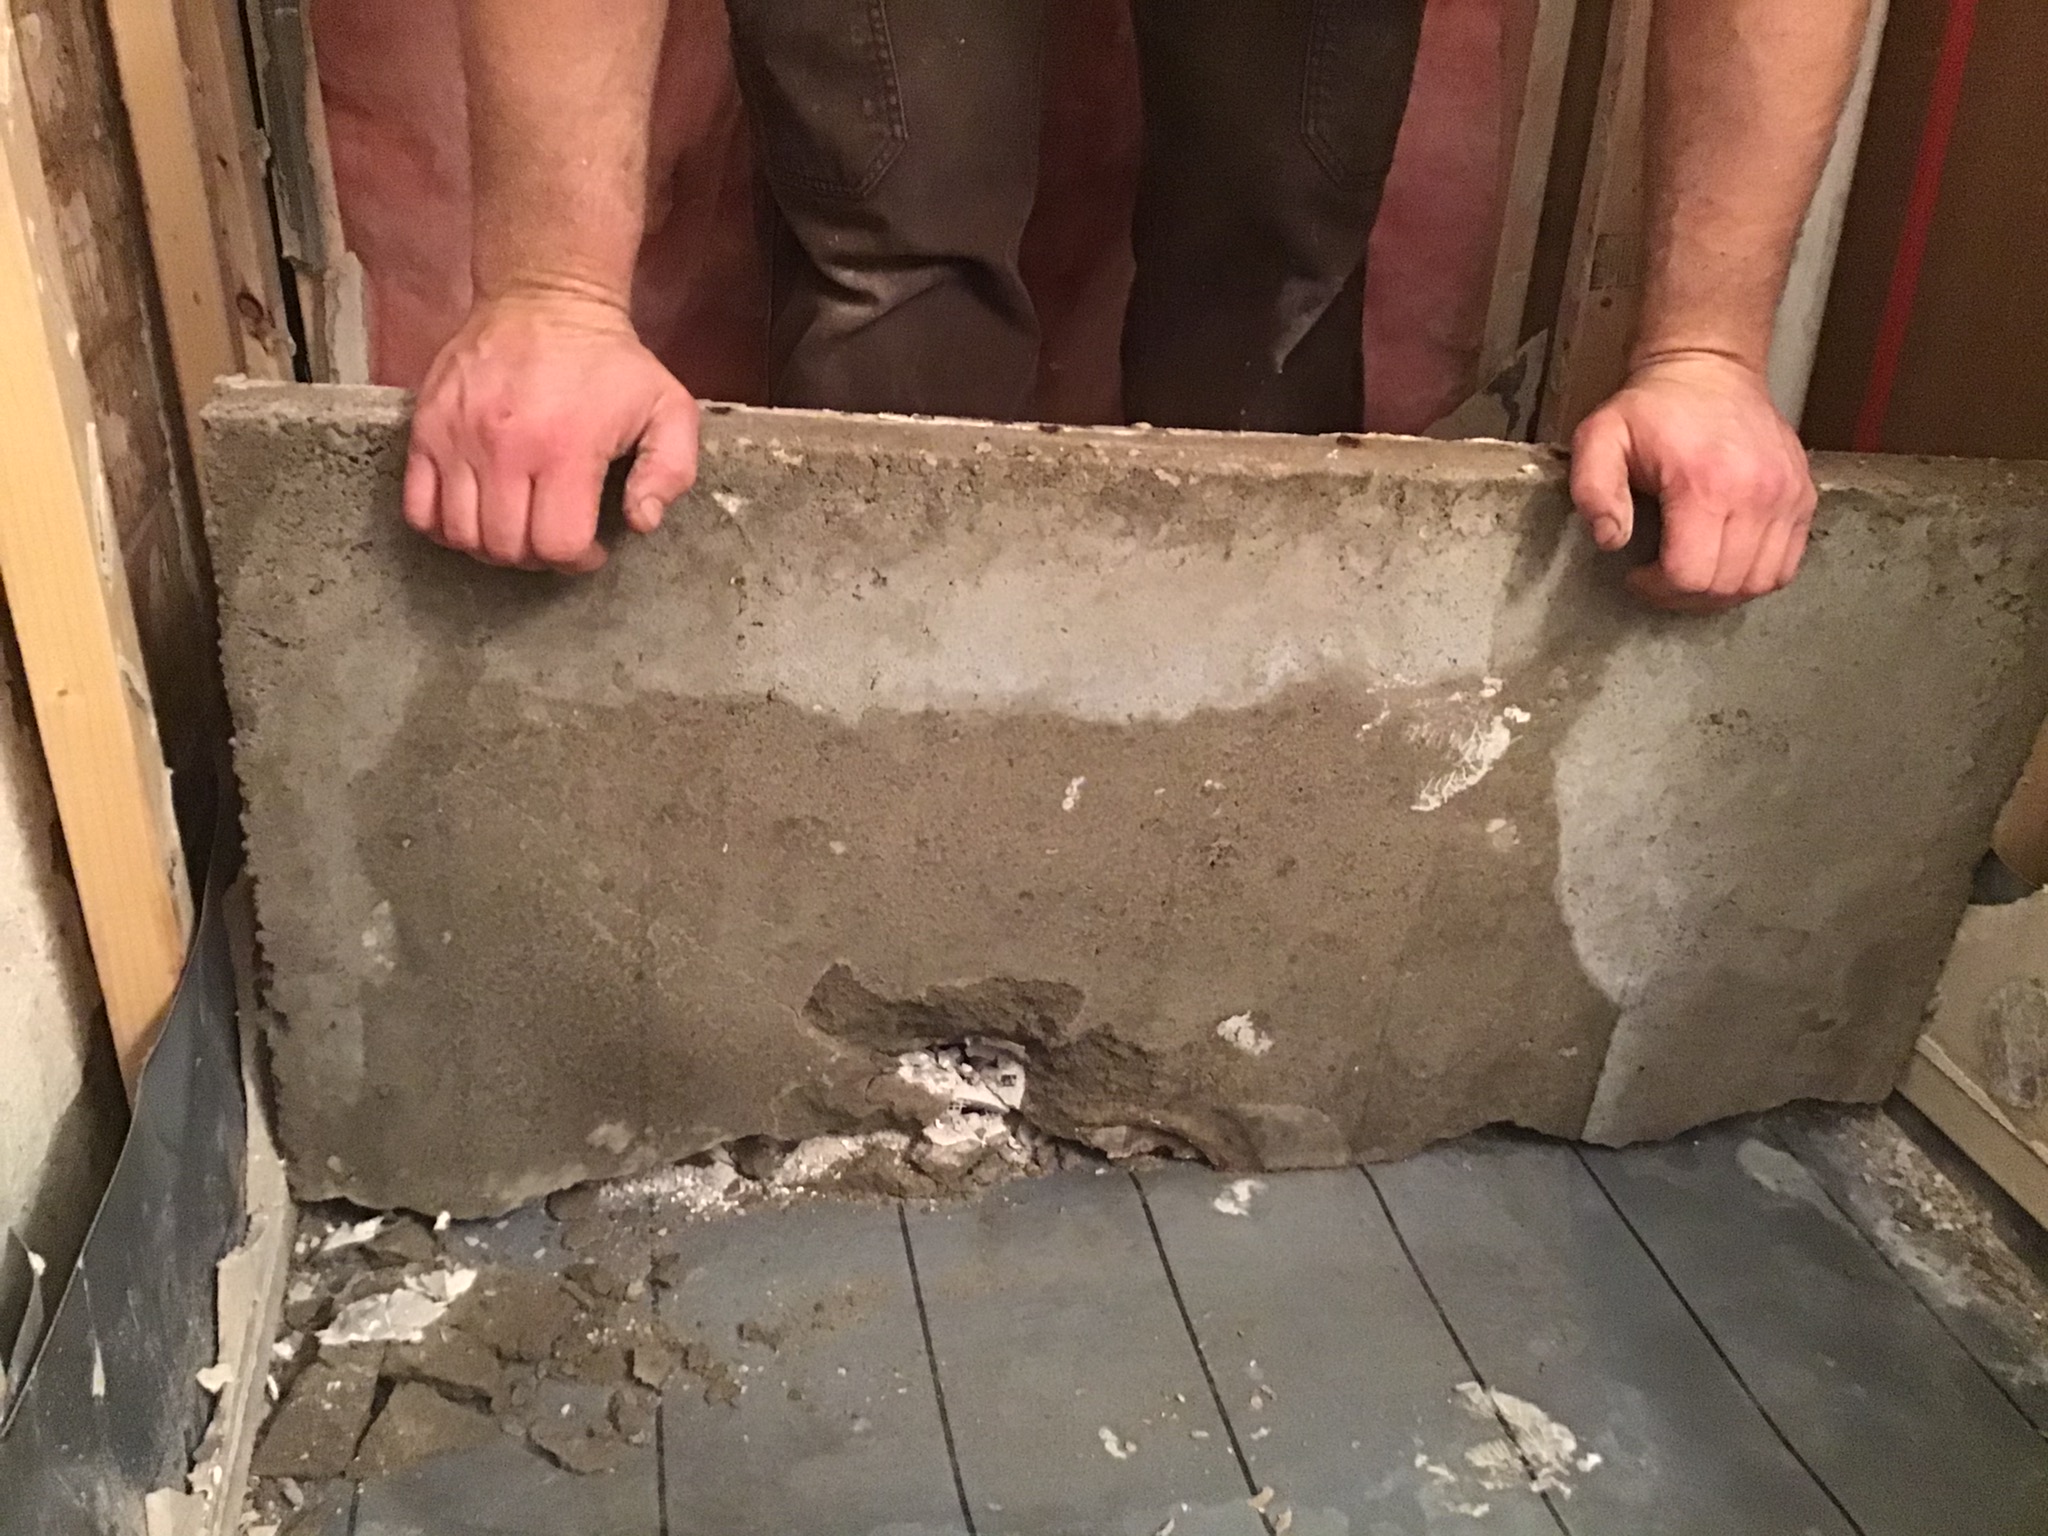
This detail of the drain shows another incorrect installation of the rubber liner and drain component. You can see the rubber liner ramping up to the drain creating a standing water trap. A proper installation would have the ramp going down to the drain instead of up. The reason for this is a lack of pre slope or an additional piece of backer board under the rubber liner so the drain component can sit flush with the top of the liner.
The concrete shows the results of the improper drain and liner installation. The wet spot is easily distinguishable and is the end result of the standing water found around the drain. We refer to this as "jungle rot' and can eventually begin to emit an odor coming from the floor.
We reworked the old framing to bring it up to tile standards and added the proper amount of insulation to keep the shower warm. Two of the walls were exterior walls with one having very minimal insulation and the other with no insulation. Instead of rebuilding the shower with water resistant backer board we used a closed cell foam system for the pan and walls creating a waterproof barrier. We also removed the small niche and added a shelf the length of the back wall maximizing storage space for shampoo and soap. We also added a layer of plywood on the subfloor to make up for any strength that was lost. In this case the damage was not bad enough that the subfloor needed to be removed.
The finished product turned out absolutely stunning. These large format porcelain tile are impervious to water and are the best choice for a shower. Ardex x77 thinset combined with FG-C grout making this shower completely anti microbial and stain resistant. These anti microbial grouts are pre-sealed for the life of the install making them very easy to clean. We were able to reuse the glass door but the side panel was cut at such an angle, due to a crooked wall, that we needed to order a new one. We were also able to use oil rubbed bronze metal edging to match all the existing fixtures. We attached the fixed panel track with Ardex CA20-p sealant adhesive so no screws were drilled into the curb eliminating even a small water trap. The preformed Wedi foam pan is also fully waterproof stopping the possibility of standing water or an unforeseen leak. All in all this remodel took the course of a week to complete and was worked consecutively until completion making the impact as light as possible.
